Beginning the Inside of the Car
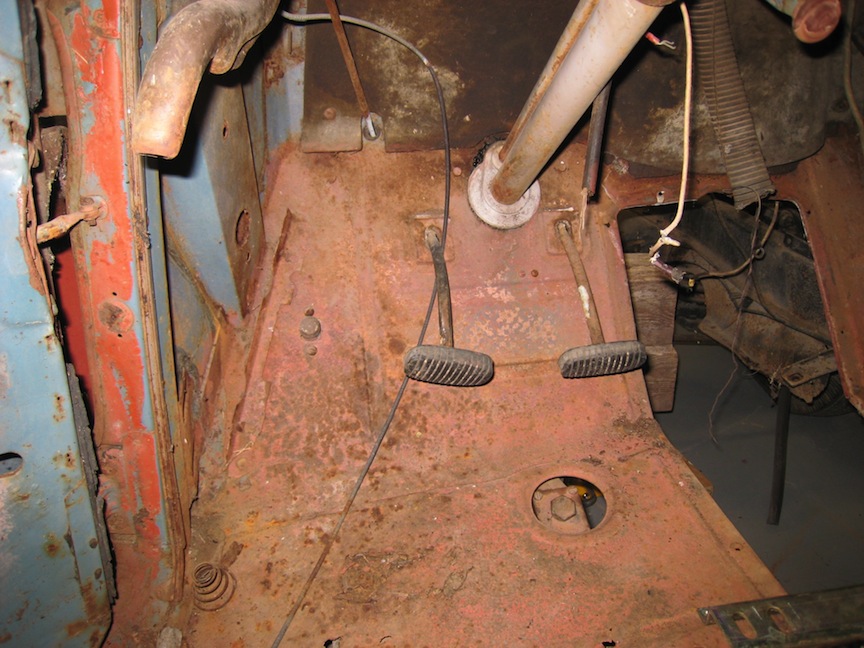
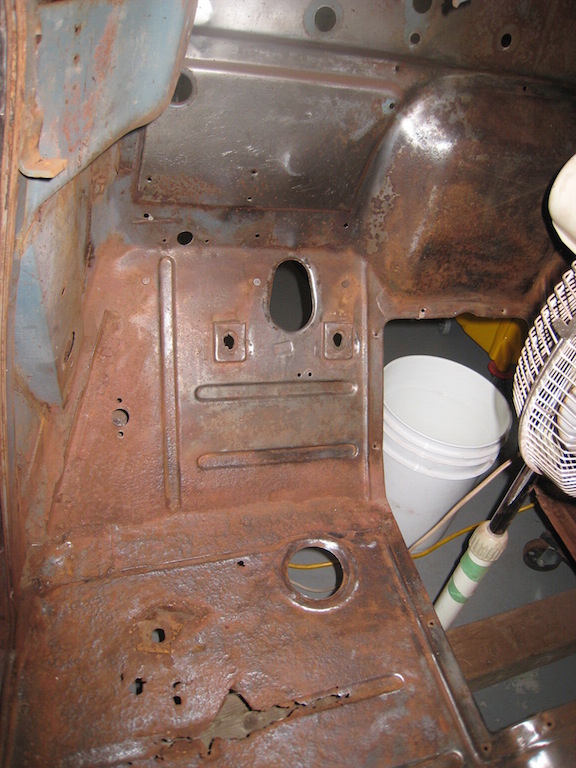
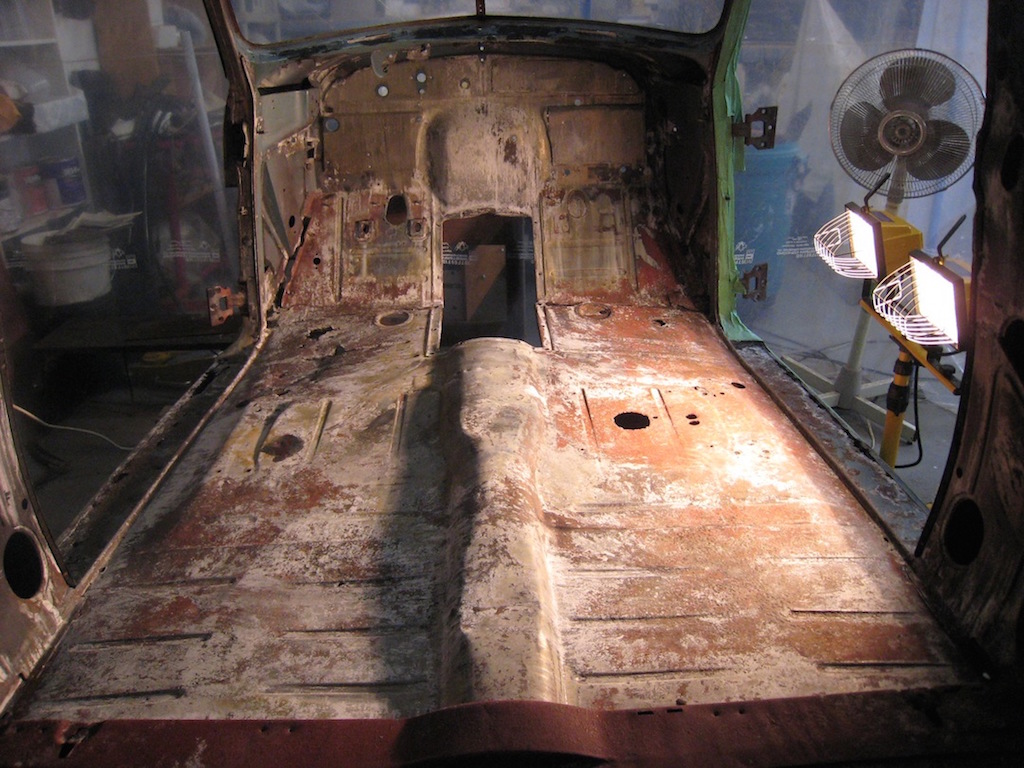
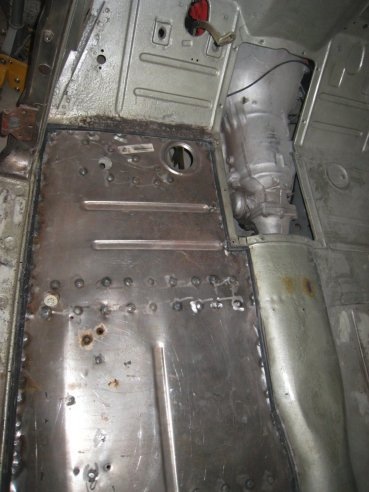
The picture below shows the driver's side with the seats and transmission cover removed. I wish I had taken more pictures inside the car in the original state.
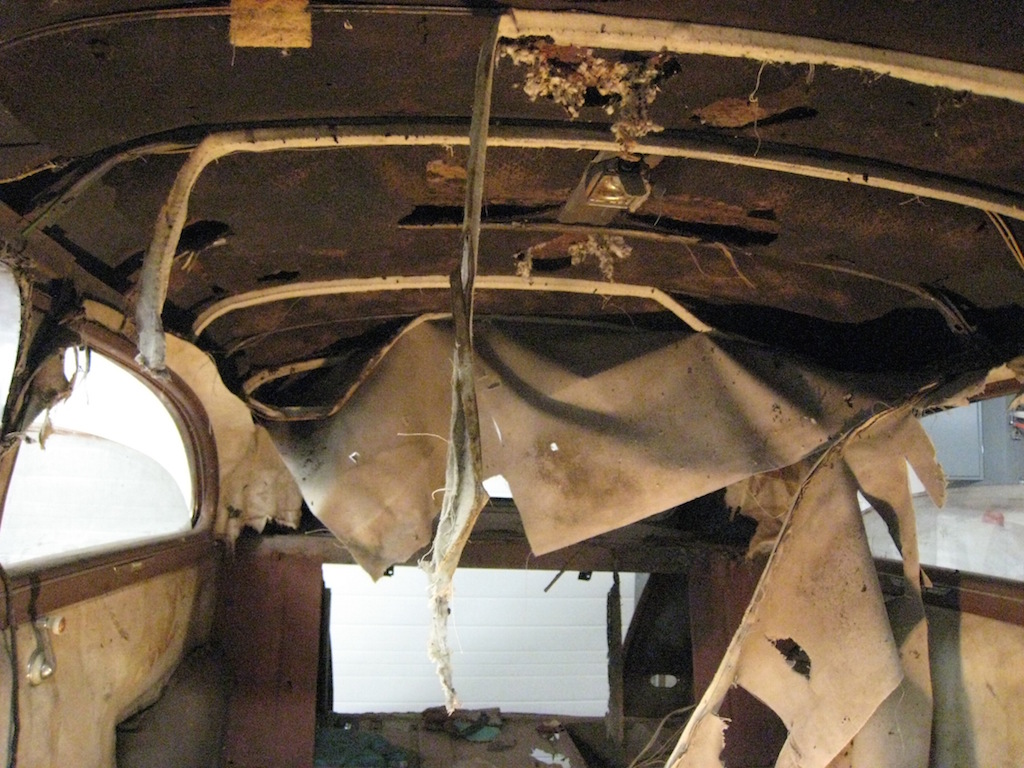
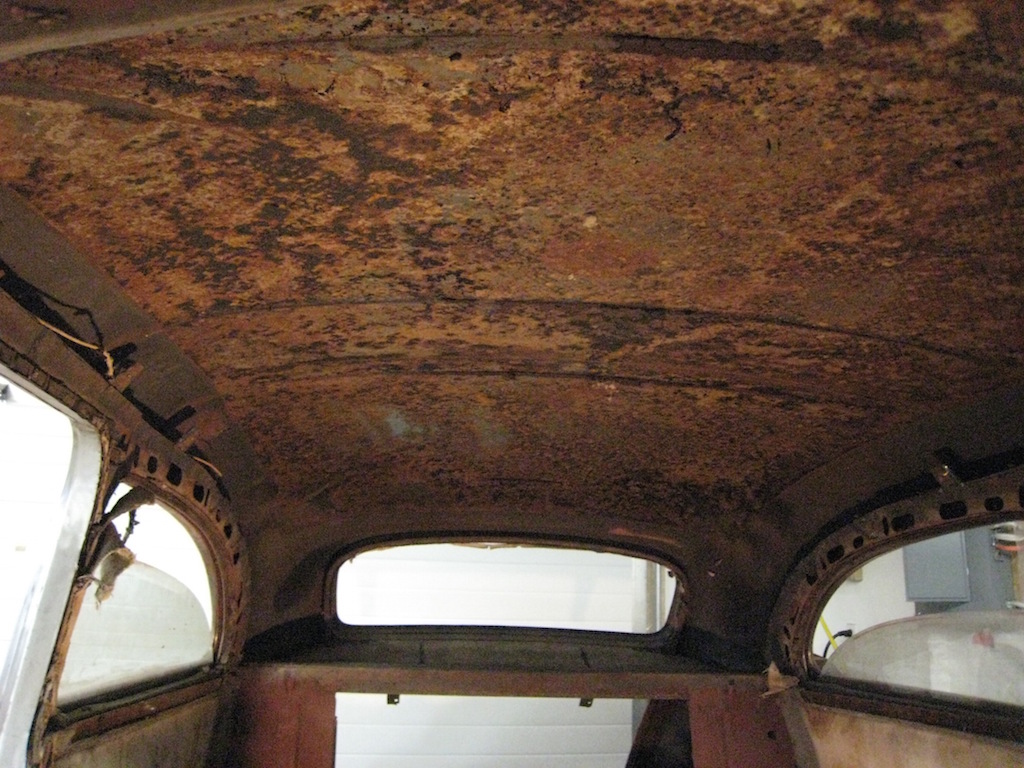
As I said before, the squirrels lived in the car for 25 years and pretty much destroyed the inside. The inside roof had a felt-like matting glued to it under the headliner. When it was removed, the mat design could still be seen on the roof.

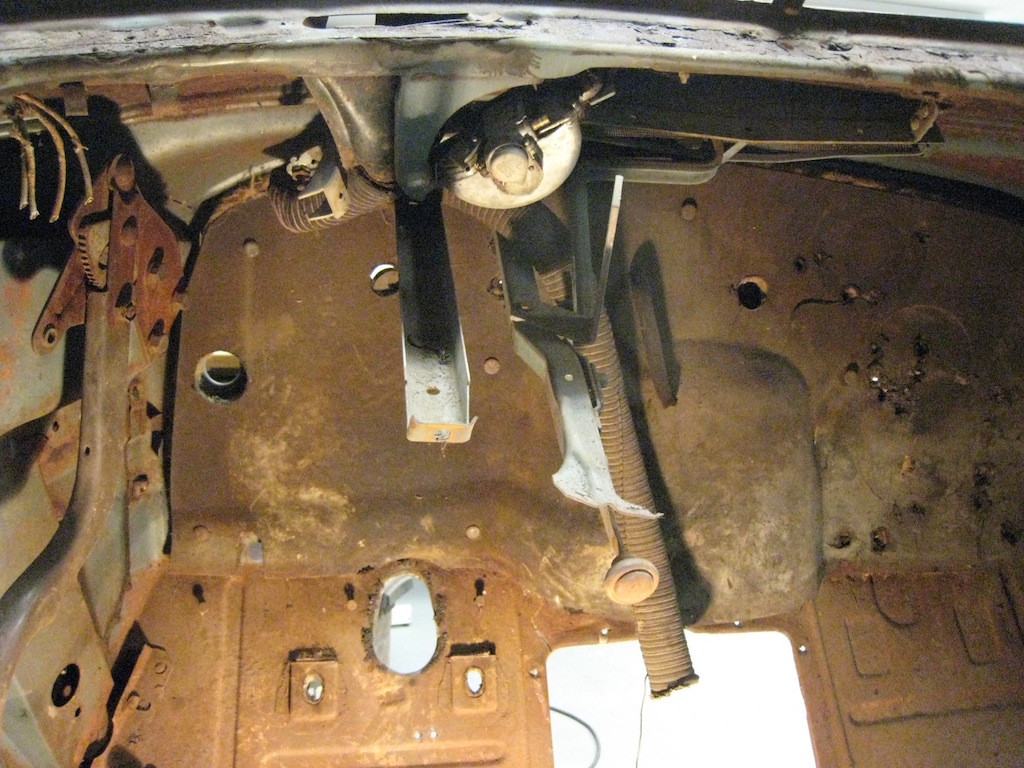
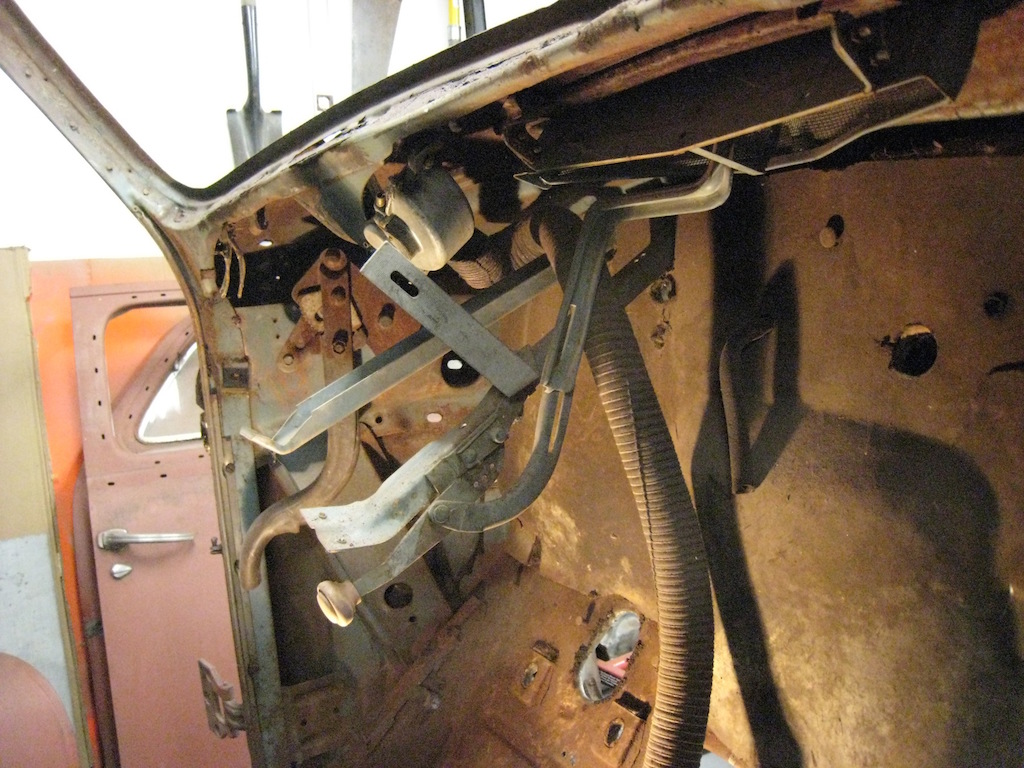
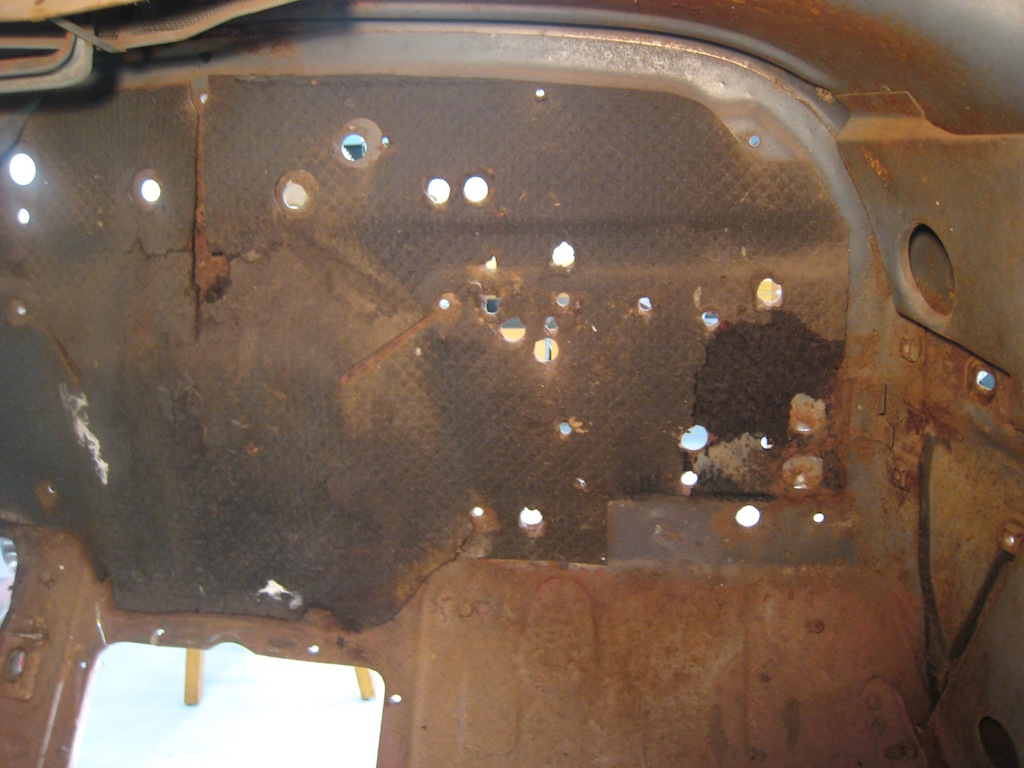
The picture below shows the inside firewall with all the holes used for various hoses and cables. The sound deadening matting is still on the firewall.
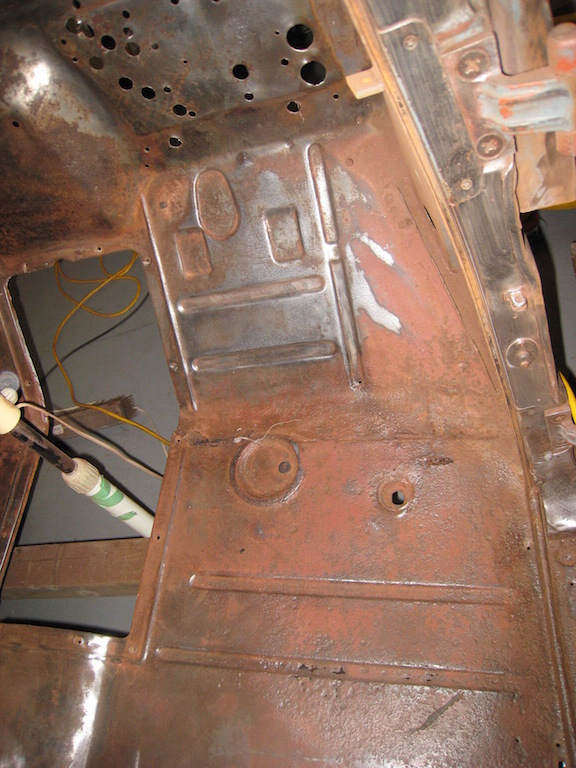
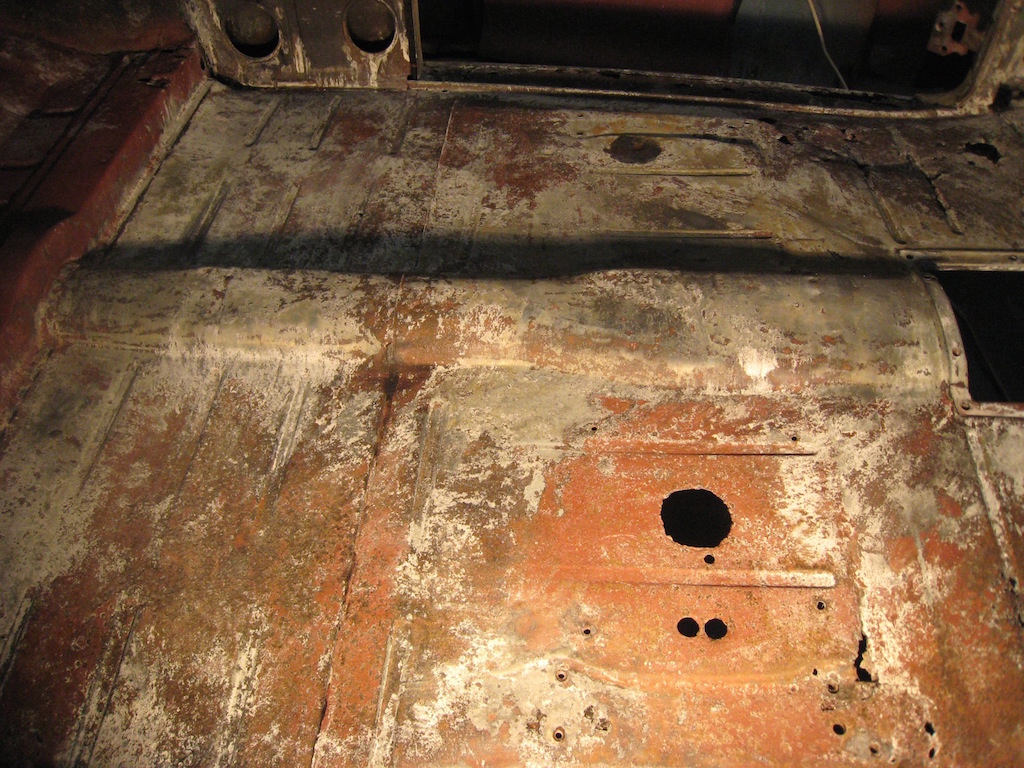
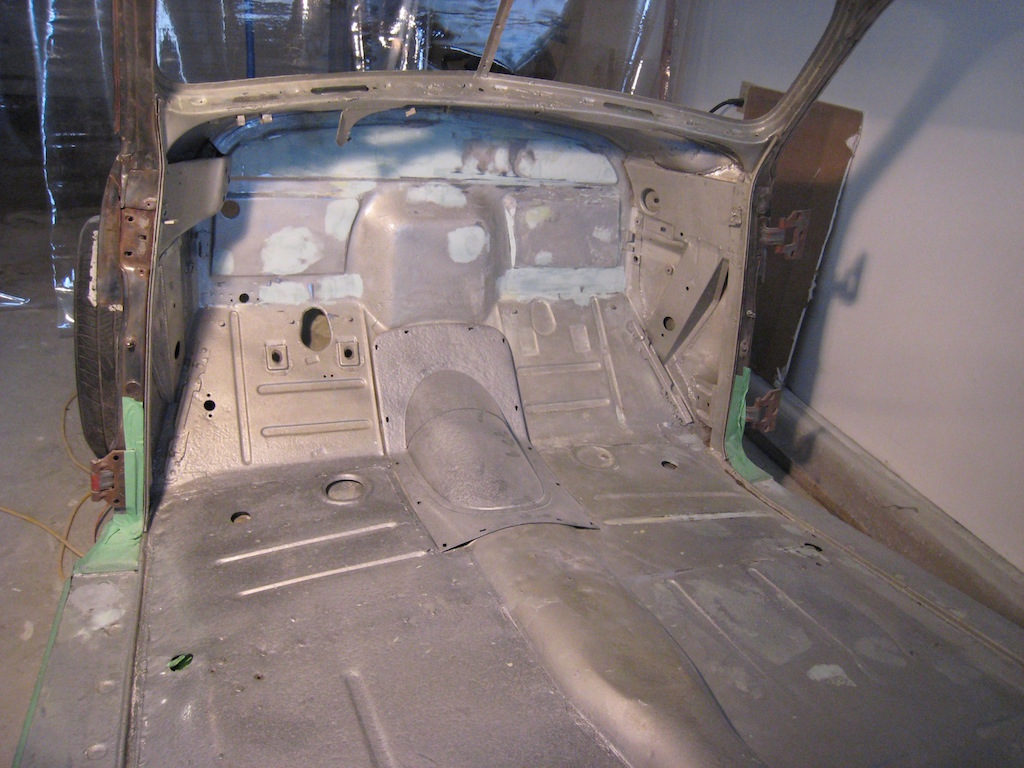
The pictures above and below show the inside after it has been cleaned with POR-15® Marine Clean and POR-15® Metal Ready. The Metal Ready caused a white powder to form which was wiped off with a cloth before painting.
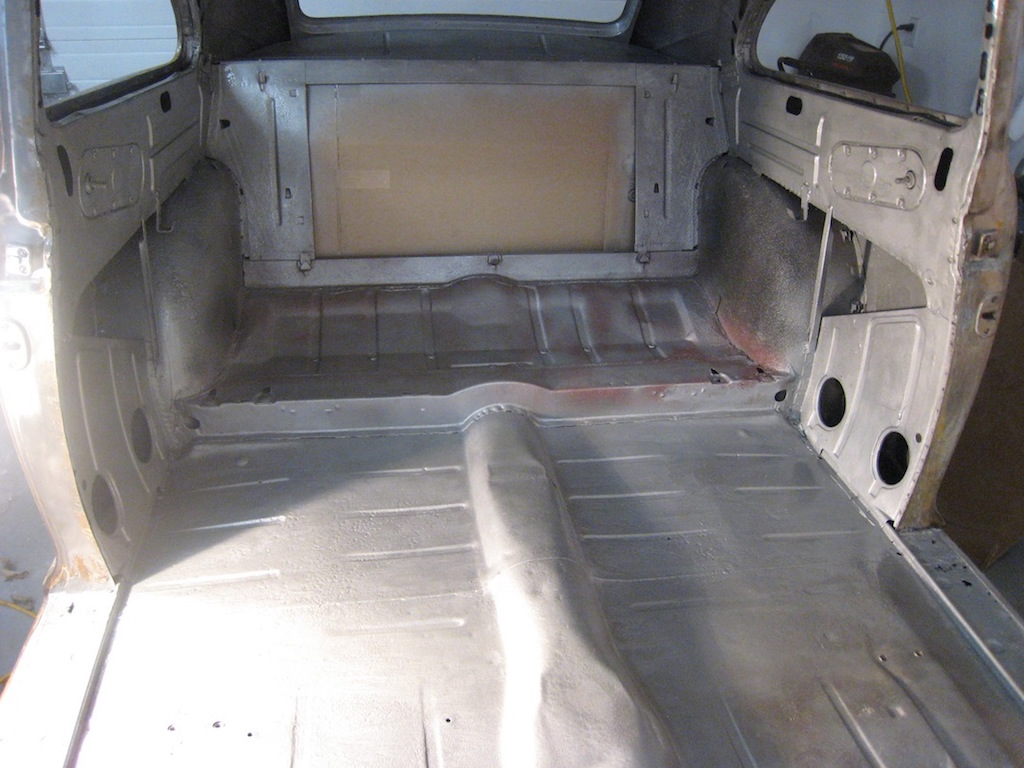
The first coat of silver POR-15® (sprayed on) looking toward the rear.
The first coat of silver POR-15® looking toward the front.
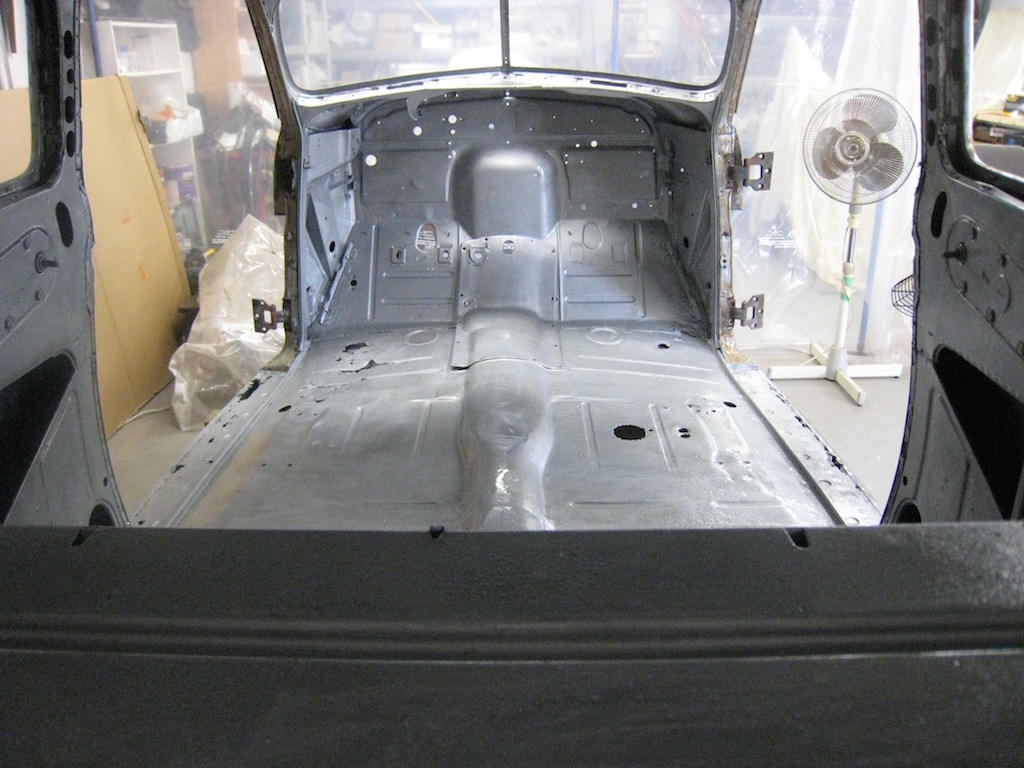
I filled the holes in the firewall and than painted the inside a couple more times with the POR-15®.
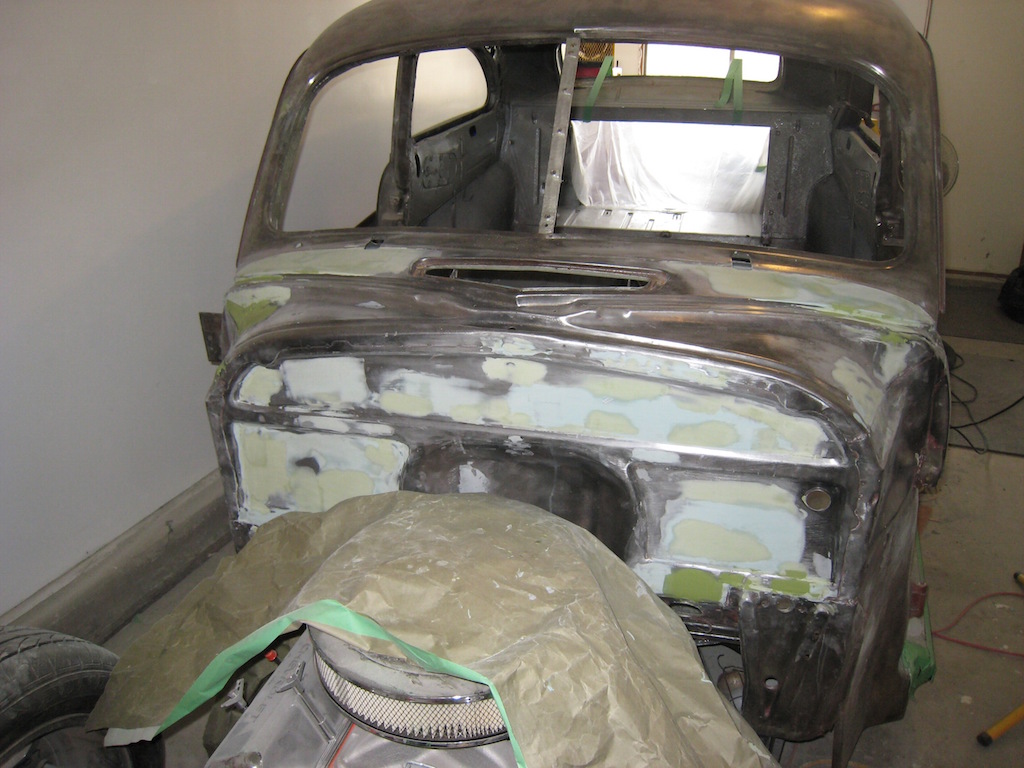
The picture below shows the outside of the firewall. I should have done this when the body was off of the car.
The Trunk
The trunk floor and the trunk lid required some extra work. The slot for the spare tire on the left had rusted out, so I had Sandales weld a flat piece of metal in it's place.
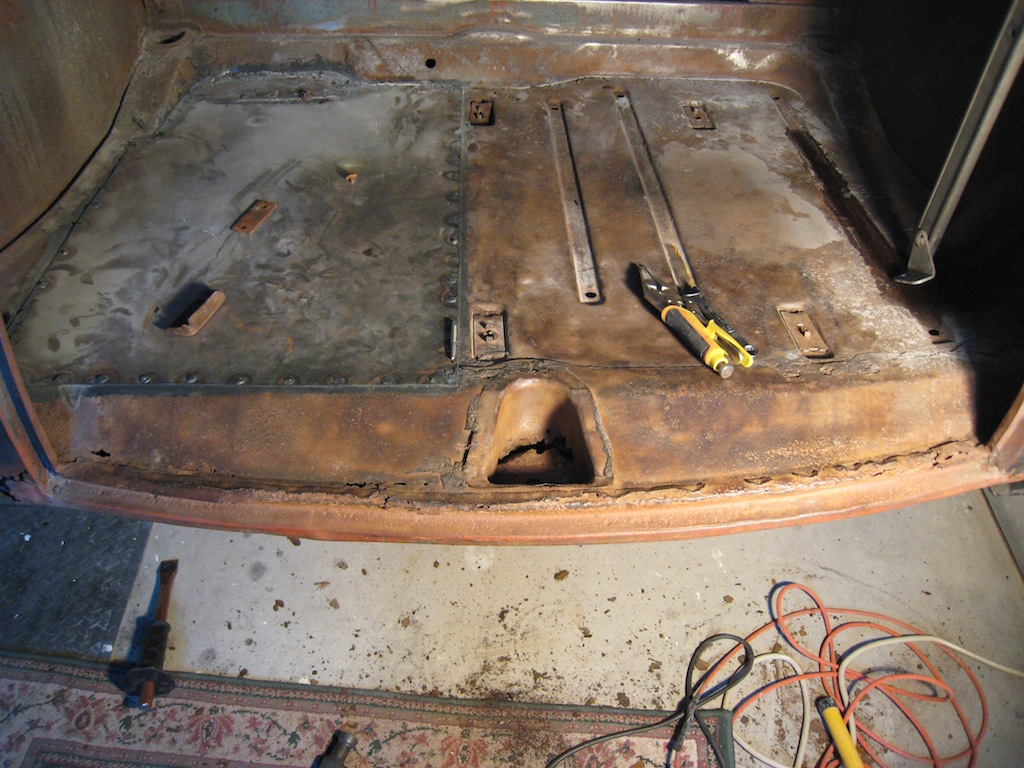
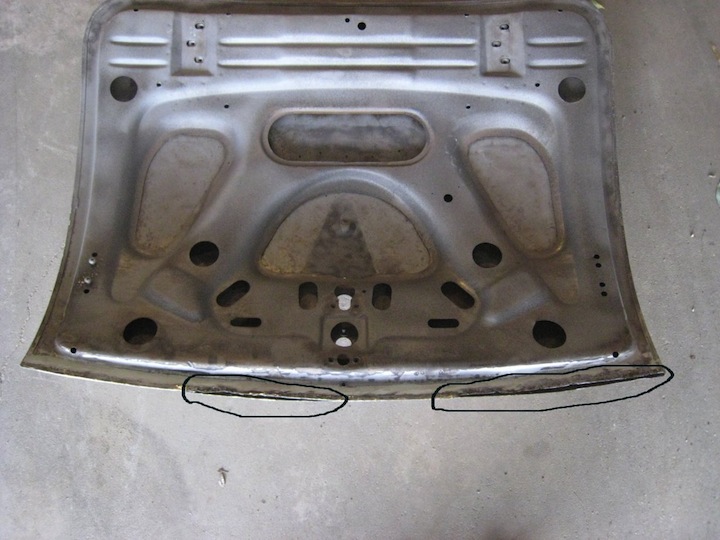

The picture above shows the trunk floor before I made a hole for the access door to the gas tank sending unit.
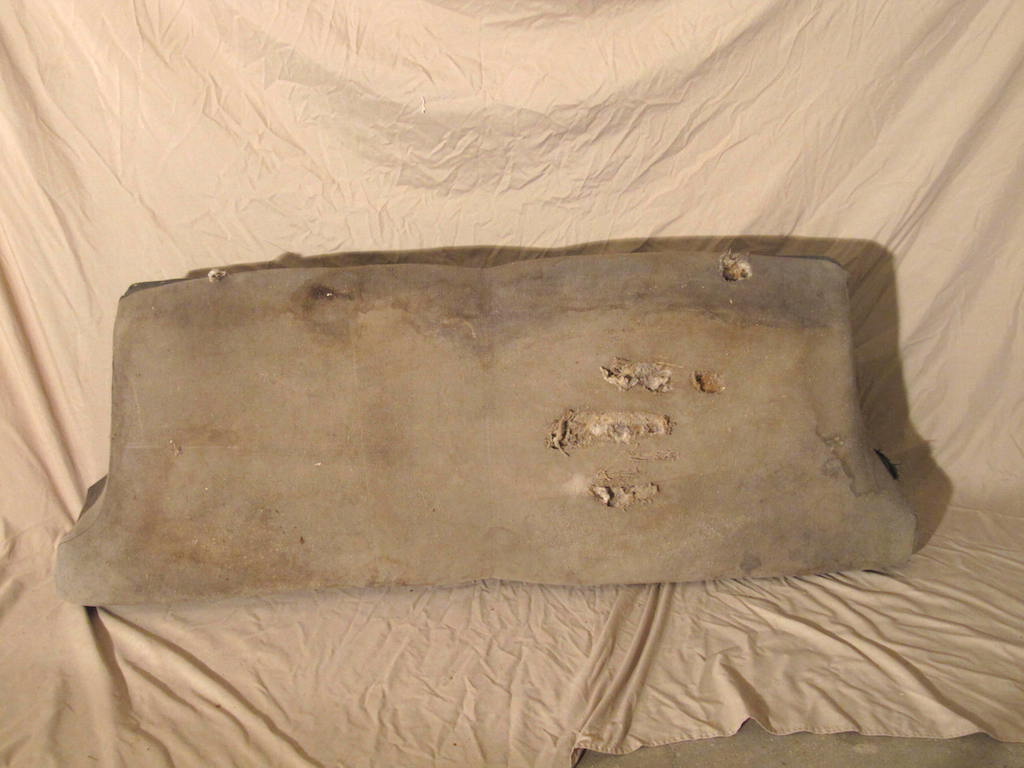
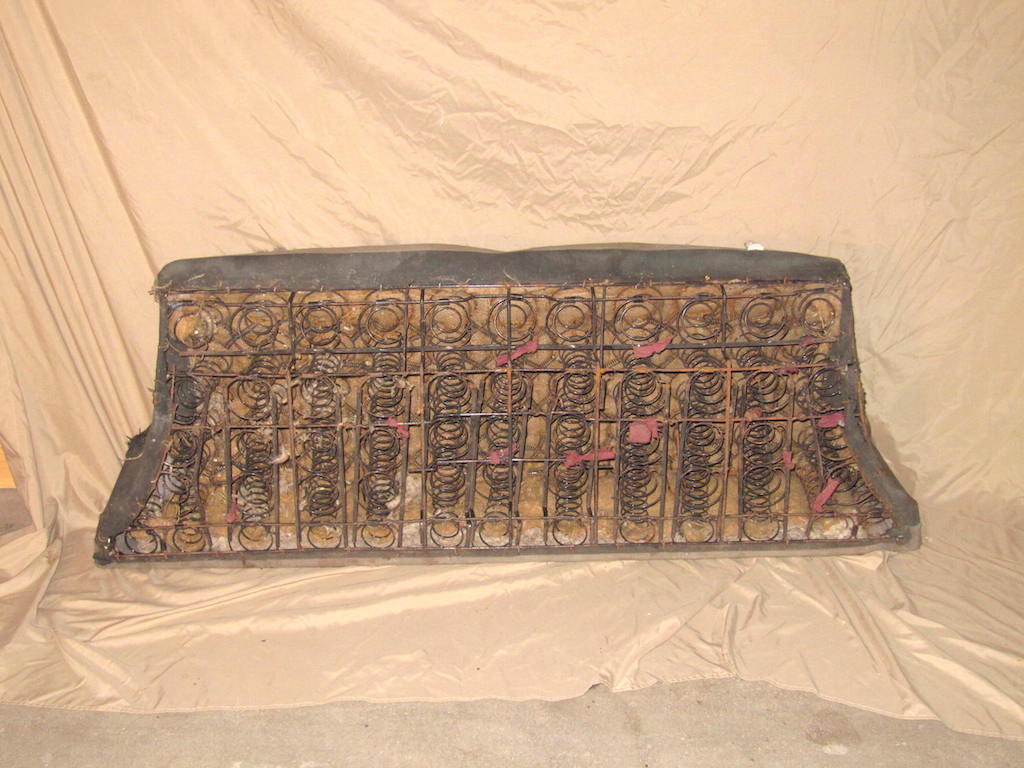
Seats Etc.
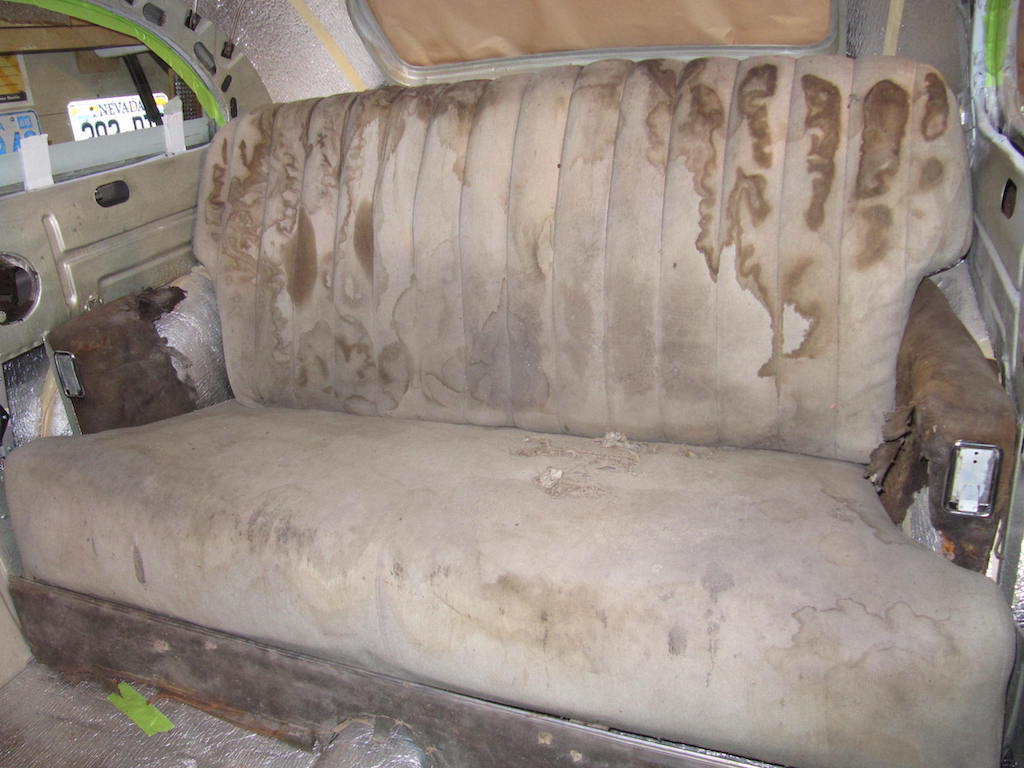
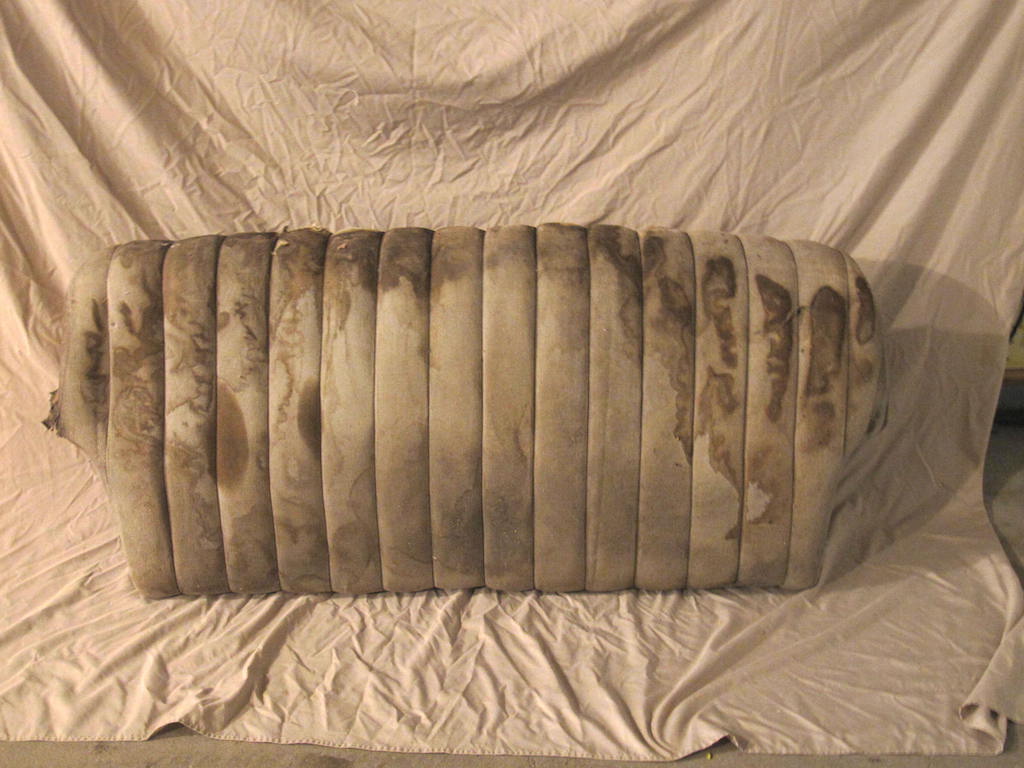
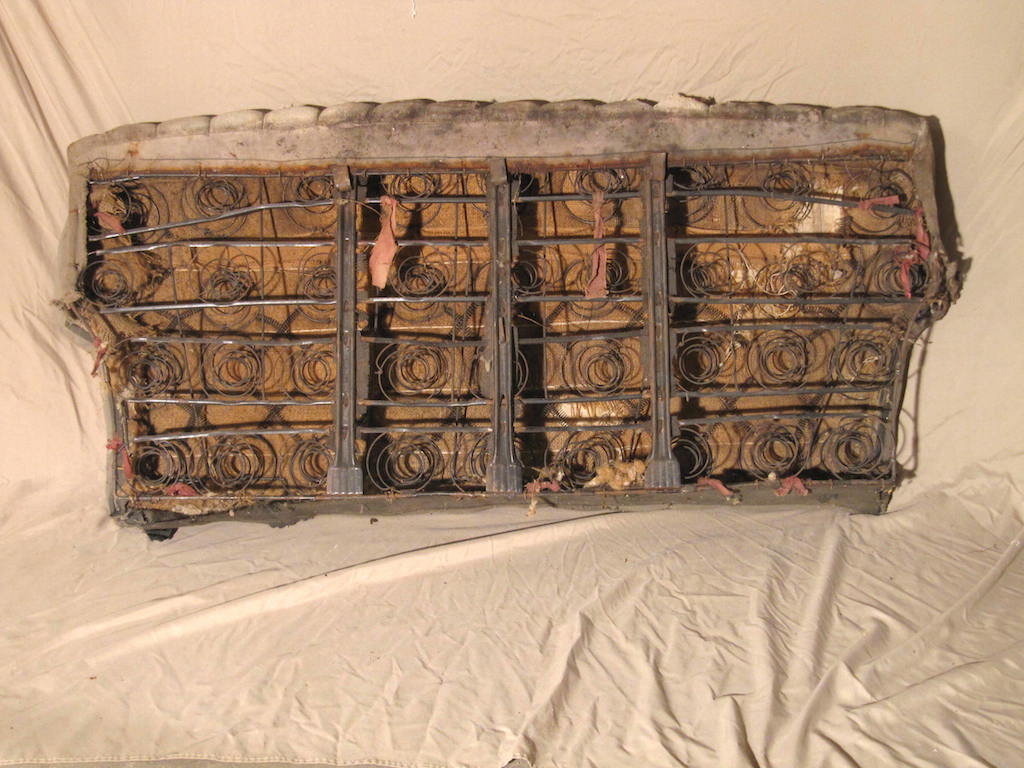
The following picture shows the back seat in the car. The ashtray holders are in pretty rough shape. When I first took the seats out, there was a dead dried up squirrel stuck in the springs!

Go to the following link to see the "after" pictures of the inside of the car: